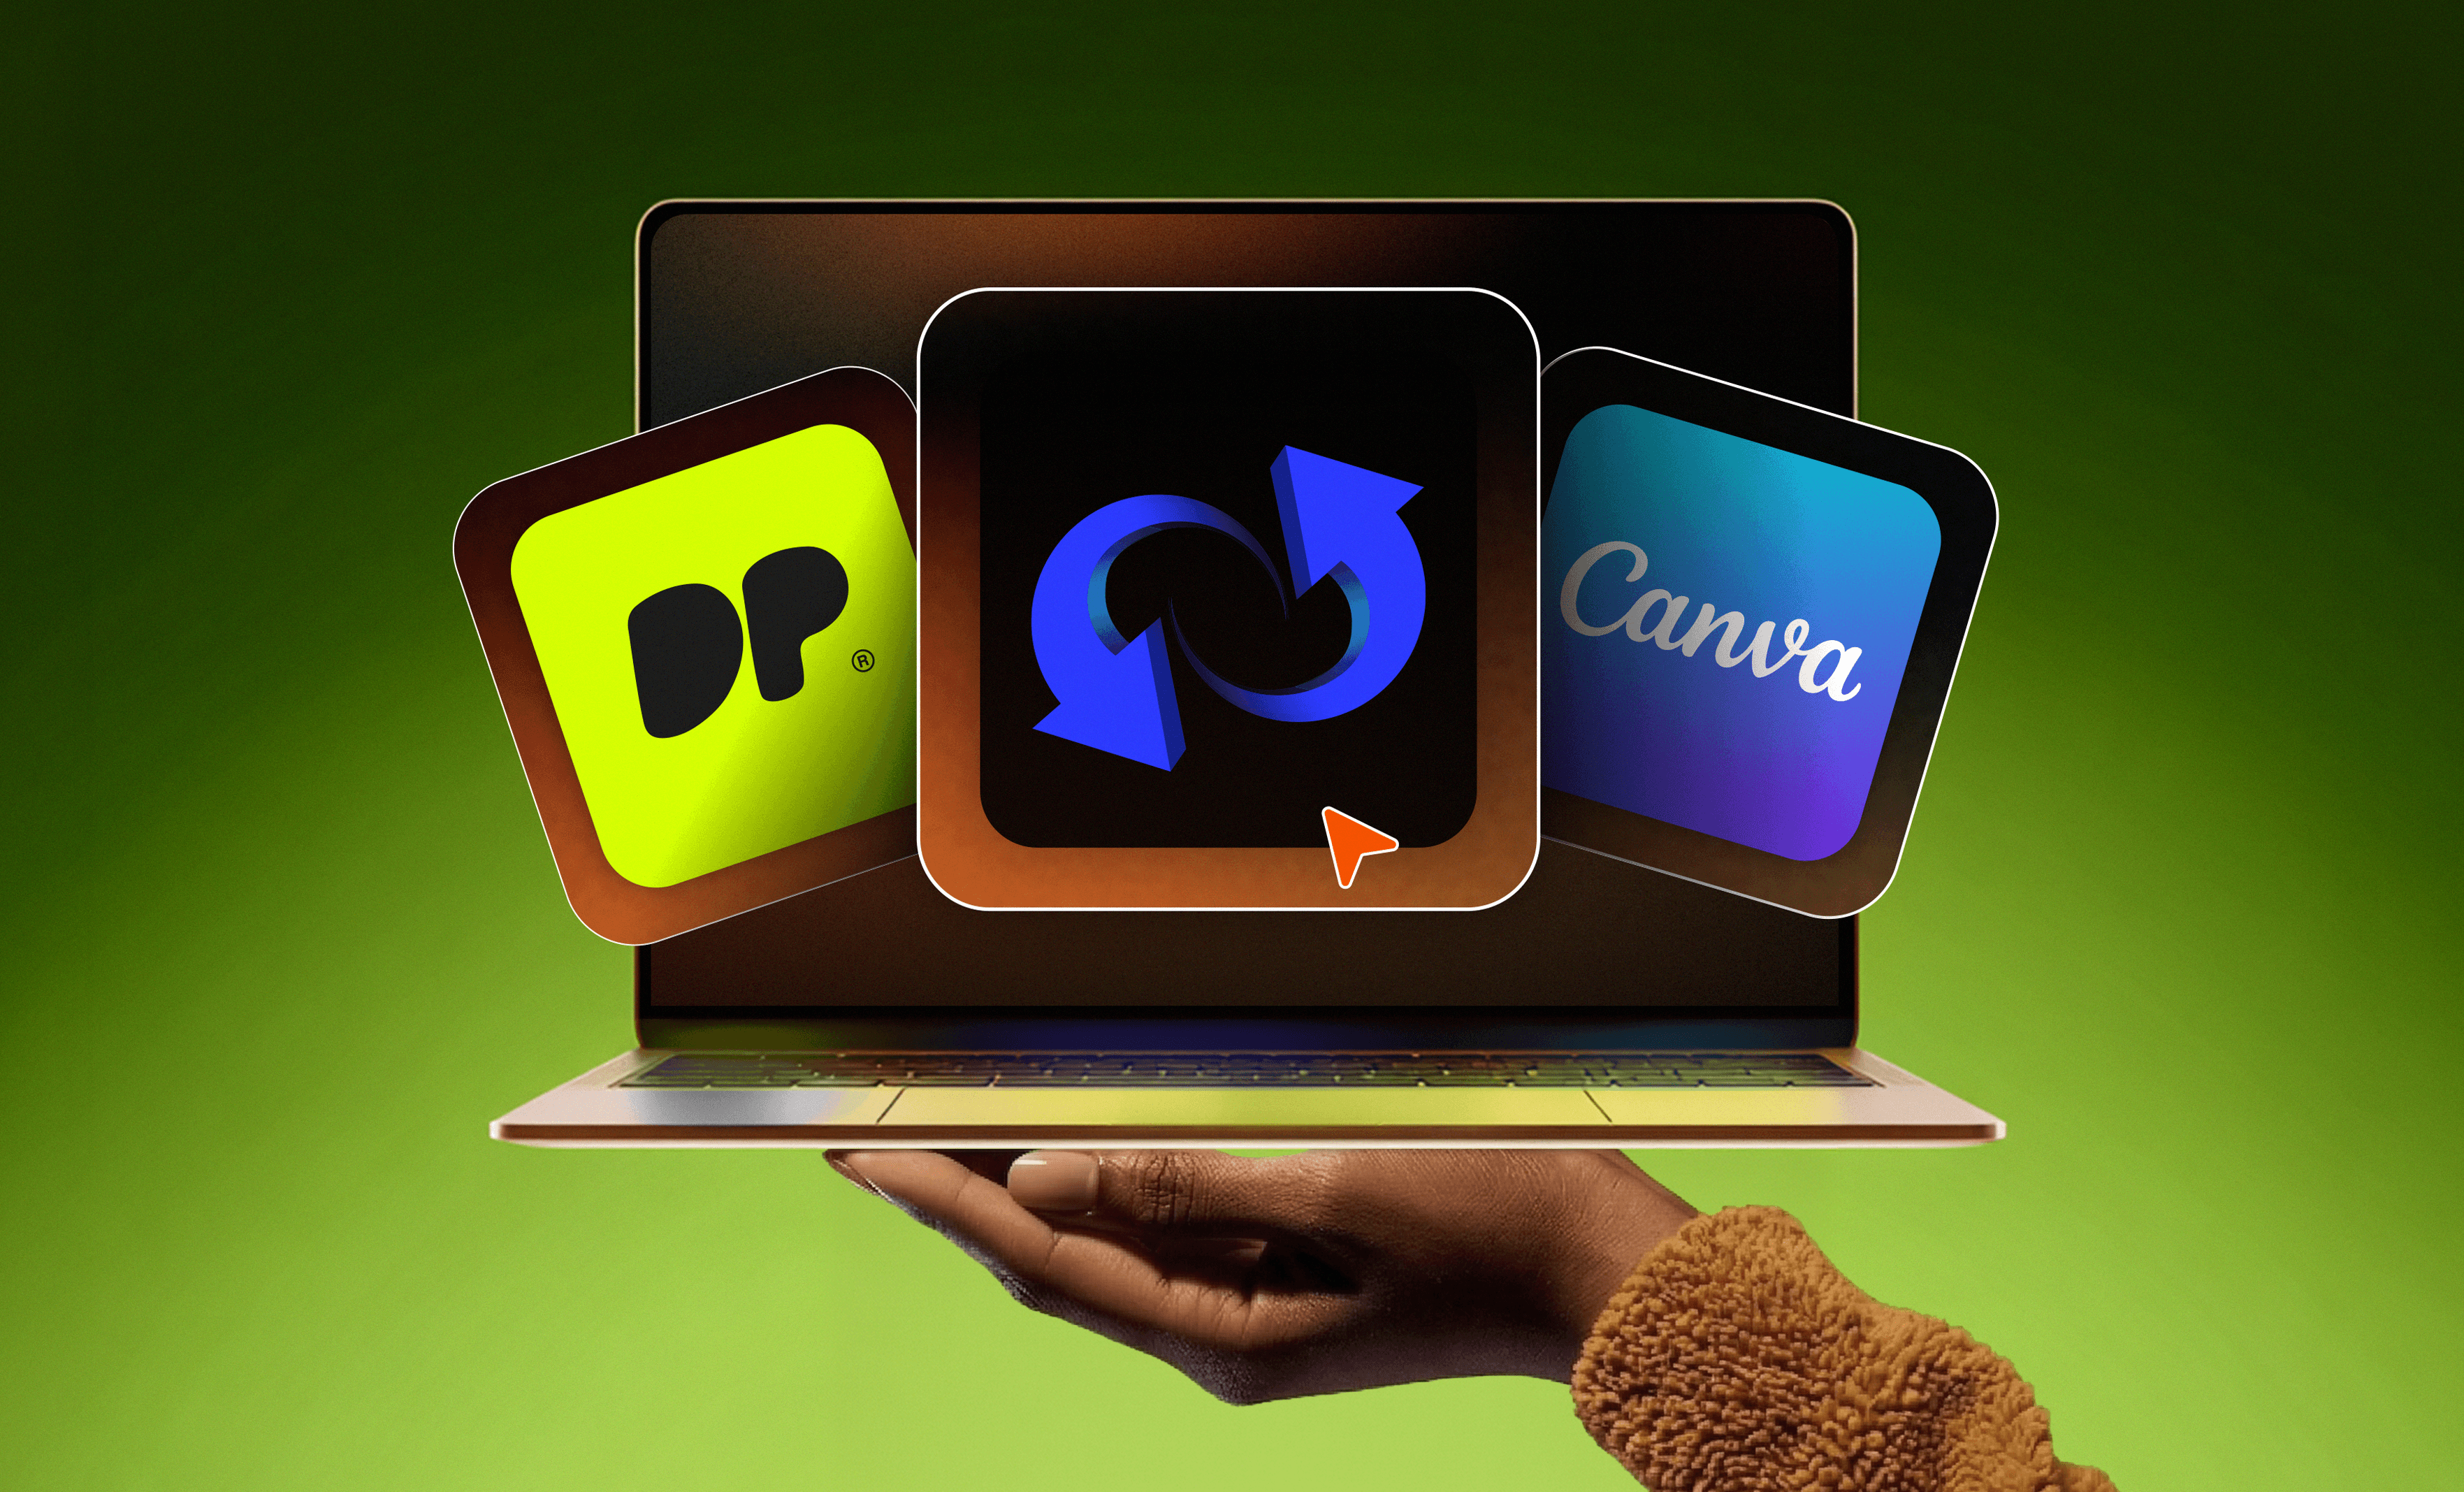
How to convert Adobe or Illustrator files to Canva (and actually keep them usable)
If you've searched how to get an Adobe or Illustrator file into Canva, you've probably been told to export it as a PNG and upload it. Technically, that works, but it also means your "editable" design is now a flat image with no layers, no live text, no flexibility with no scope for it to be repurposed for varied platforms.
This guide covers what the conversion actually involves, two ways to approach it, and what to consider before you decide how to spend your time.
- .ai and .eps files aren't natively supported in Canva.
- Fonts, gradients, and linked assets often don't survive the export.
- Exporting as PNG flattens everything. You lose live text, layers, and any ability to edit the design inside Canva
There's no single right way to convert an Adobe file to Canva. The right approach depends on what you need the file to do once it gets there.
Path A: DIY conversion
- Export from Illustrator as SVG or PDF.
- Import into Canva and check what survived.
- Manually fix what broke from fonts, gradients, to layered elements that are the usual suspects.
- Best for: simple files, one-off conversions, and people with time and some Illustrator comfort.
Path B: Have it done right the first time
- Send your original file to Design Pickle.
- The files are rebuilt natively inside Canva.
- You get back a fully editable template with no broken fonts or missing elements.
- Best for: complex files, brand-specific specs, recurring use, or when you just need it to work.
- Open your file in Illustrator and outline all fonts by going to Type, then Create Outlines. This converts your text to shapes and prevents missing font errors when the file opens in Canva.
- Export the file as an SVG, not a PNG or JPEG.
- Go to File, Export As, and select SVG. Use SVG Profile 1.1, embed any linked images, and leave minification off.
- Upload the SVG to Canva through the Uploads panel, then open it and go through every element, including text, colors, gradients, and grouped objects to see what transferred cleanly.
- Fix the files manually by re-entering live text, replacing gradient fills that flattened, and ungrouping elements that Canva collapsed during import.
For a clean, simple file this might take 30–60 minutes. For anything with complex layering, custom fonts, or brand specs, budget significantly more and expect at least one round of "why does this look wrong."
If you're a marketing director or manager overseeing a team that ships content regularly, this is where your time calculation changes.
DIY conversion makes sense once. It stops making sense when you're doing it repeatedly, when brand consistency is non-negotiable, or when the file is complex enough that you'll spend more time fixing it than using it. That's when it's worth having it built properly from the start.
Design Pickle's Canva design services handle exactly this. Your file goes in, a native Canva template comes out.
Here's how it works:
- You: Submit your request with your original design file and brand guidelines.
- Design Pickle: Rebuilds the layout natively inside Canva. We do not import the design, we rebuild the layout from scratch and deliver a fully editable template via a Canva share link.
- You: Save it directly to your Canva workspace.
- You: Request more variations, create more content, and ship faster.
*Canva templates are included with any creative service plan
You now know what the conversion actually involves. The DIY route is real, it works, and for the right file it's a reasonable use of an hour. But for most marketing teams managing live campaigns, recurring content, and brand consistency across channels, the math doesn't hold up past the first conversion.
The question isn't whether you can convert the file. It's whether your time is better spent doing it or having it done.
💡 See how it works