This post is written by Erin McKeeby, General Manager for SendinBlue marketing platform in the United States.
Savvy marketing professionals know that email marketing is an incredibly effective tool for building brand awareness, increasing conversions, and developing customer loyalty!
However, when you’re new to the world of email marketing, the concept of creating email graphics and using them appropriately can definitely seem overwhelming. If you’re just getting started with email marketing or looking for a way to overhaul your stale email campaigns, you’ve come to the right place!
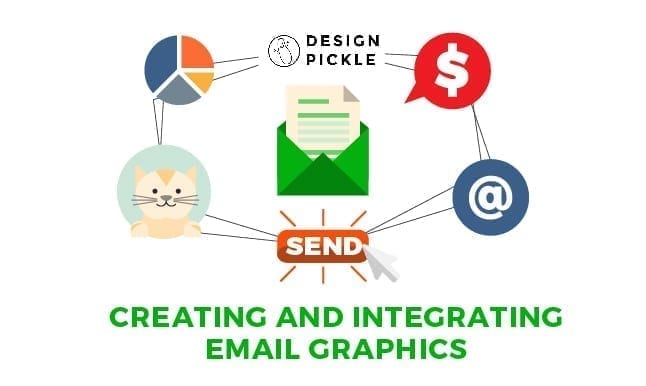
This how-to guide will walk you through creating and integrating email graphics to maximize your results.
When generating email graphics, your efforts should be broken up into three stages – planning, developing, and implementing. Let’s dive into each of these steps further:
Stage 1 – Planning your Design
Before you start creating graphics, you need to remember that email graphics are just one piece of a larger design. Sure, you want to have the perfect graphics to drive engagement, but you can’t forget about all of the other elements that make an email great. If you’ve never designed an email before, here’s a list of the basic elements that all of your emails should include:
- Header – The opening of your email is basically an introduction to the content that will follow. This is the perfect place to put your logo, slogan, or another recognizable element that helps to identify both the purpose of your email and also who’s sending it.
- Headline – A brief headline statement can be used to capture a reader’s attention and entice them to read the rest of your email.
- Text – Elaborate on your headline further with more in-depth text that tells your story or makes your pitch as concisely as possible. Keep in mind that emails with too much text often get skimmed or ignored altogether by recipients.
- Supporting Image – Sending emails that are just one large image can get you in trouble with Internet Service Providers (ISPs) because they often see it as a form of spam, and may block your emails as a result. This is why you should select an image that supports the rest of your content rather than just leaning on a single image to carry your message. Choose a supporting image that’s fitting for your content and evokes an emotional response from readers.
- Call-to-Action (CTA) – Use buttons or linked text that encourages readers to click-through to your site for more information.
- Footer – Close your email with your business’ contact information, website URL, social media icons, and physical address.
As is the case with any form of marketing, effective email marketing requires thorough planning from the beginning. Always plan your email design with your marketing goals in mind to ensure that all of the components you include will work together to drive readers to take the desired action. Whether that action is purchasing a product, reading an article, registering for an event, making a donation, or signing up for a free trial, your email design should be geared towards getting that particular conversion from start to finish.
Stage 2 – Working with a Designer
After confirming what your email will look like and what it will say, you’re ready to create your email graphics.
It’s essential to consider the usage rights for any images included in your emails. Never use an image that you don’t have the rights to, or you may find yourself in serious legal trouble! Many marketers choose to engage a professional designer and create custom marketing graphics. This ensures you own the usage rights for your email images.
Another reason to have a professional designer create your graphics is to save time and money. Keep in mind that while there’s a cost associated with hiring a designer, it also costs a lot of time to look for free use images and then modify them. Using your valuable time to build your business instead of creating your own images is often a much shrewder financial investment.
When you’re working with a graphic design company it’s helpful to provide as much background and context as possible. Share the layout or template for your email with whoever will be creating your graphics and explain where you want visual elements to fit into your design. If you have brand standards for colors, fonts, or image styles, be sure to provide those with your brand kit as well. Discuss whether you’d prefer photo-based or illustrative graphics to best complement your brand. If you’re looking for a particular aesthetic, you can also offer examples of your previous graphics to use as a design base. But remember, design communication isn’t a one-way street! Your designer may have feedback about your design and you need to be open to any recommendations that they make as well.
The professional design company that you use will typically deliver your graphics with the proper specs and output requirements for web usage. However, if they ask for your preferences, you can tell them that you’d like your images with the following criteria:
- Use RGB color mode
- Plan for the image to be at a maximum of 600 px wide for full-width images
- Export images at 72 ppi in PNG or JPG format
Once you have your graphics, test their mobile-friendliness after they’re inserted into your emails. All graphics should be readable by users on devices of any size and work naturally with mobile actions like swiping and tapping. If any modifications need to be made to your graphics, discuss your specific concerns with your designer.
Stage 3 – Integrating Finished Graphics into your Email
Once your graphics are created, it’s time to get them to your emails. If you’re using an Email Service Provider (ESP) with drag and drop design tools like SendinBlue, it’s very quick to integrate them into your emails. But if you’re using a provider that doesn’t have an easy-editor, you may have to learn some basic coding or get some help from someone more tech savvy. With your new graphics in your emails, your job is almost done, but there are a few more pieces of housekeeping to take care of before you hit send.
- Large images take a long time to load, which can frustrate and annoy readers, which is why it’s so important to optimize image file sizes. Your goal should be to shrink large files without compromising the resolution of your images using your ESP or a standalone tool like Webresizer. Ideally, file sizes shouldn’t be larger than 500kb otherwise the deliverability of your emails may be negatively affected.
- The average reader is accustomed to clicking or tapping on images for more information, which means that all of your email images should be embedded with links back to your website. Send readers to the most relevant page on your site to minimize their need to navigate elsewhere.
- Include complete alt-text information with your graphics. This text will display if your images are blocked by a subscriber’s email client, allowing them to decide whether or not they want to download your image.
Ready, set, SEND!